Contract Import Tool
This section will look at the tool which lets users import contracts to Dolphin.
In this article:
- Using Contract Import Tool
- Steps for Uploading
- Validations
Using Contract Import Tool
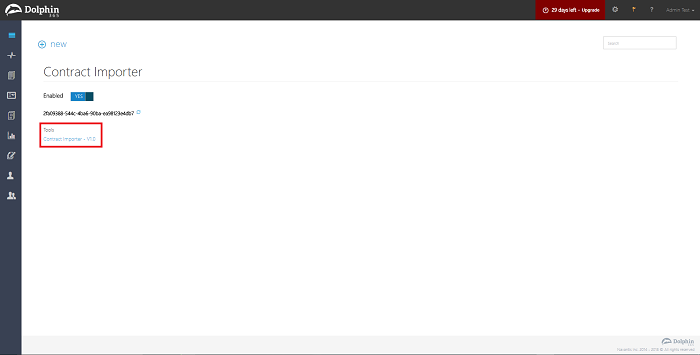
- The Contract Import Tool can be downloaded via the “Contact Importer” section in settings area in the application.
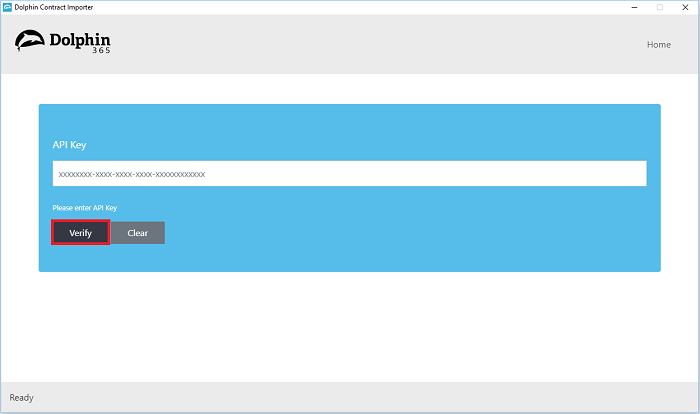
- The tool will accept the API key which can also be obtained from the “Contact Importer” section.
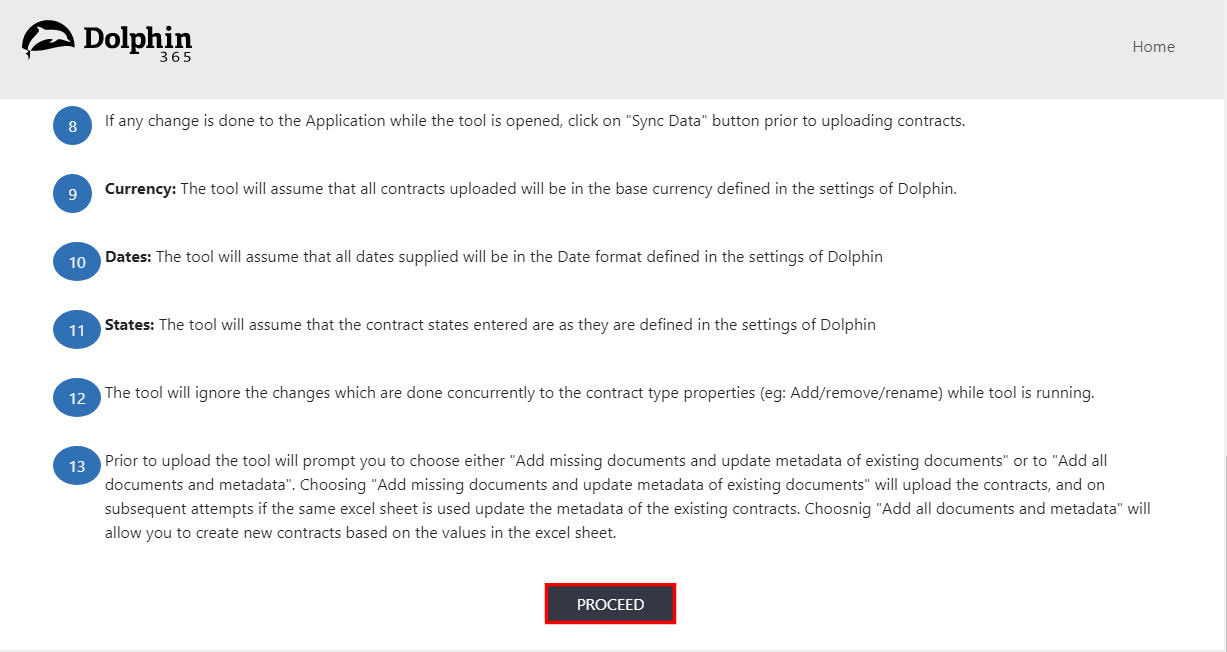
- Once the API key is verified, the user is directed to an instructions page where all the necessary details are mentioned. Click on the “Proceed” button at the bottom of the page to get started.
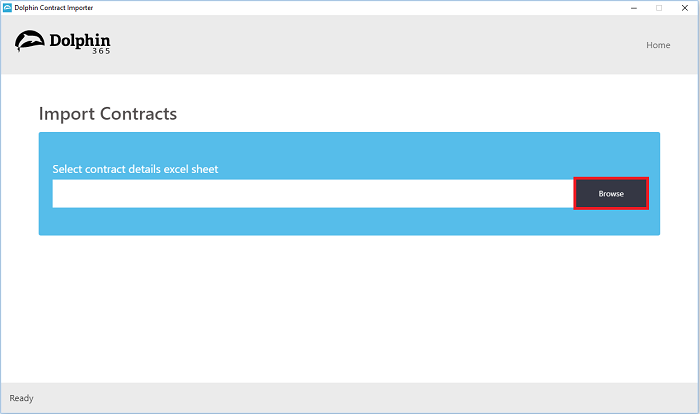
- The tool will only accept “Excel” sheets for uploading.
- The tool will validate the excel sheet upon browsing.
- Contracts cannot be imported without required data.
- Clicking on “Upload Document” after validating, will populate the Contract Repository with the data in the selected excel sheet.
Steps for Uploading
Step1
- Install the tool by downloading via “Contact Importer” section in the Dolphin settings page.
- Open the tool.
- You need to enter the API key to proceed in the tool.
4. To get the API key: | - Login as Admin user to your Dolphin 365 account.
- Go to Settings area.
- Navigate to “Contract Importer” section and enable the toggle given to obtain your API key and copy it.
Step 2
Browse data
- Create the Excel sheet as per described in the instructions section in the tool.
- User will be directed to an instructions page after entering the API key. Click on the Proceed button at the bottom of the page to start browsing.
- Click on Browse button and select the required file.
Data requirements are as follows;
- ID : Not mandatory
- Contract Name : Mandatory
- Description : Not mandatory
- Company Name : Mandatory, Company which exists in the system
- Owned By : Not mandatory, Only users registered in the system can be added
- Managed By : Not Mandatory, Only users registered in the system can be added
- Start Date : Mandatory, Should be in the format configured in the system
- End Date : Not mandatory, Should be in the format configured in the system
- Renewal Date : Not mandatory, Should be in the format configured in the system
- Reminder Date : Not mandatory, Should be in the format configured in the system
- Jurisdiction : Not mandatory
- State : Mandatory, Should be given according to the configured preset values in the application
- File Path : Mandatory
- Contract Type : Mandatory, Should match the contract types in the application
Step 3
Validate data
- Upon browsing your data sheet, all the contracts included are validated by the tool.
- If any validation is fired, user will have to update his/her data sheet accordingly and re-upload.
- If no error is captured, user is able to proceed with uploading of contracts.
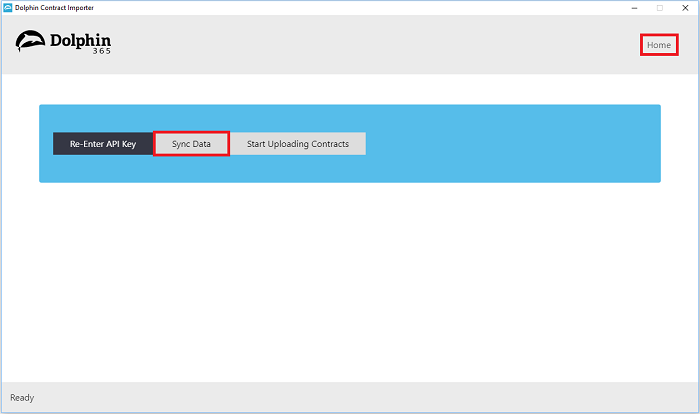
NOTE - Prior to browsing, the tool should be synced with the application data if any relevant change is done to the application while the tool was opened. To Sync the tool with the application data, Click on the Home button and click back the “Sync Data” button.
Step 4
Upload Data
- Once the data sheet is validated successfully, “Upload Document” button will be displayed.
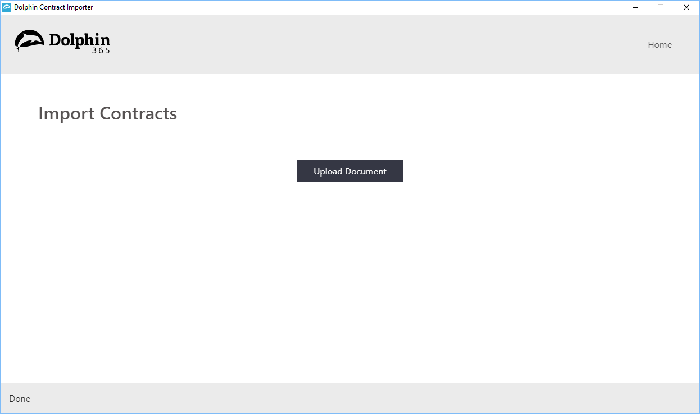
- Clicking on the button will lead the contracts included in the data sheet to be uploaded to the system.
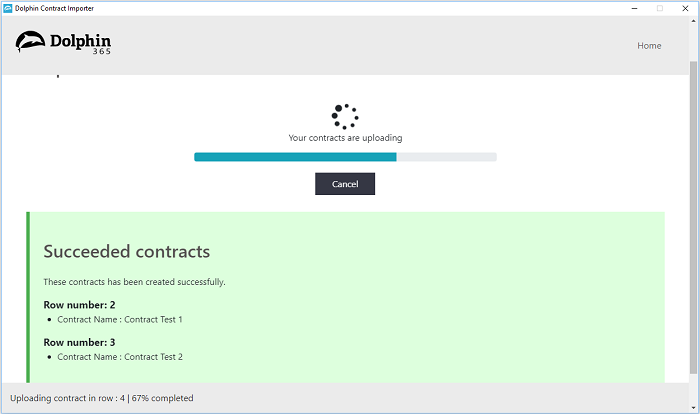
- Uploading status for each contract is shown in the tool.
NOTE - Excel sheet should not be updated while the contracts are being imported to the system via the tool.
Validations
- Field validations - Same as in the application.
- Contracts with same ID cannot be imported.
- Contracts cannot be imported without required data.
- Required field validations for specific properties - Required data may change accordingly with the properties defined in contract types.
- Special character validations - Same as in the application.
- User validations - Same as in the application.
- Date validations - Dates should match the format configured in the system.